How to Set Up DMARC for Salesforce
Step-by-step guide to configuring SPF, DKIM, and DMARC for Salesforce email sends. Includes DNS records, Email Relay, and troubleshooting.

Why Your Salesforce Emails Need DMARC
If your team uses Salesforce, you’re sending email from your domain. Service Cloud notifications. Marketing Cloud campaigns. Pardot follow-ups. Sales Cloud workflow emails. Every one of those messages carries your brand.
The problem: by default, Salesforce sends those emails through its own infrastructure. The “From” address says yourdomain.com, but the SMTP server, the SPF check, and the DKIM signature all belong to Salesforce.
For mailbox providers running DMARC, that’s a red flag. The authentication checks may pass for Salesforce, but they don’t align with your domain. DMARC alignment fails.
While you’re at p=none, this is invisible — DMARC tells receivers “monitor only.” But the moment you move to p=quarantine or p=reject, your Salesforce emails start landing in spam folders or getting blocked entirely.
This guide walks through configuring SPF, DKIM, and DMARC so your Salesforce email passes authentication with alignment. You’ll be able to confidently advance to enforcement without breaking your sales and marketing workflows.
What You Need to Get Started
Before you begin, gather these things:
- Salesforce admin access with permissions to manage Email Administration and DKIM keys
- Access to your domain’s DNS management (Cloudflare, Route 53, GoDaddy, Namecheap, etc.)
- An existing DMARC record (a basic
p=nonerecord is fine to start with) - Knowledge of which Salesforce clouds you use (Service, Sales, Marketing, Pardot, etc.)
If you don’t have a DMARC record yet, start with this minimal version:
_dmarc.yourdomain.com. TXT "v=DMARC1; p=none; rua=mailto:[email protected];"Replace yourdomain.com with your actual domain and rua=mailto with an email address you can access. This tells mailbox providers to send aggregate reports so you can see exactly which sources are or aren’t aligning.
Step 1: Identify Every Salesforce Cloud You Use
Salesforce isn’t one product. It’s many. Each cloud sends email differently and may need its own authentication configuration.
Take inventory before you start:
- Sales Cloud / Service Cloud — workflow emails, case notifications, lead alerts
- Marketing Cloud — promotional campaigns, automated journeys, transactional sends
- Pardot (now Marketing Cloud Account Engagement) — B2B nurture campaigns
- Experience Cloud (Communities) — community notifications, password resets
- Salesforce Inbox / Einstein Activity Capture — outbound email from reps
If you only use Sales Cloud and Service Cloud, configuration is straightforward. If you have Marketing Cloud or Pardot in the mix, you’ll need additional steps for each platform.
This guide focuses on Sales Cloud and Service Cloud (the most common). For Marketing Cloud and Pardot, the principles are the same but the admin UI differs.
Step 2: Configure SPF for Salesforce
Salesforce publishes SPF mechanisms you can include in your domain’s SPF record. The recommended include is:
include:_spf.salesforce.comAdd it to your existing SPF record. If you don’t have one, create:
yourdomain.com. TXT "v=spf1 include:_spf.salesforce.com -all"If you already have an SPF record, append the Salesforce include before the -all mechanism:
yourdomain.com. TXT "v=spf1 include:_spf.google.com include:_spf.salesforce.com -all"Watch the 10-lookup limit
SPF allows a maximum of 10 DNS lookups per check. Every include: mechanism counts. The Salesforce include adds 1-2 lookups (it varies by region and configuration).
Before adding Salesforce, check your current lookup count using a tool like MXToolbox SPF Surveyor. If you’re already at 8 or 9, adding Salesforce will break SPF entirely — every email from your domain will fail SPF, not just Salesforce mail.
If you’re close to the limit, you have a few options: remove unused includes, flatten your SPF record, or use Email Relay (covered below) which uses your own SMTP infrastructure instead.
Step 3: Enable DKIM Signing in Salesforce
SPF alone isn’t enough for DMARC alignment. SPF aligns based on the Return-Path domain, which Salesforce typically controls. To get DMARC pass with alignment, you need DKIM.
Salesforce provides DKIM key generation directly in the admin UI.
- In Salesforce Setup, search for DKIM Keys.
- Click Create New Key.
- Configure the key:
- Selector: Choose a unique name (e.g.,
selector1,sf2026,pardot) - Domain: Your sending domain (e.g.,
yourdomain.com) - Domain Match Pattern: Set to match the email addresses you want signed
- Selector: Choose a unique name (e.g.,
- Salesforce generates a public/private key pair. Copy the public key and selector.
Salesforce will give you DNS records to publish. They’ll look like this:
selector1._domainkey.yourdomain.com. TXT "v=DKIM1; k=rsa; p=MIGfMA0GCSqGSIb3DQEBAQUAA4..."Publish that TXT record in your DNS. After DNS propagates (typically 5-30 minutes), return to Salesforce and click Activate on the DKIM key. Salesforce will verify the public key is reachable and start signing outbound email with the matching private key.
Test the DKIM signature
Send a test email to a Gmail or Outlook address. View the original message and look for:
DKIM-Signatureheader withd=yourdomain.comdkim=passin the Authentication-Results header
If you see those, DKIM is working and aligned with your domain. DMARC will pass.
Step 4: (Optional) Configure Salesforce Email Relay
For organizations that want full control over outbound Salesforce email — including IP reputation, full SMTP logging, and complete authentication ownership — Email Relay routes Salesforce email through your own SMTP server.
This is the most thorough authentication setup, but it requires:
- An SMTP server (Office 365, Google Workspace, AWS SES, SendGrid, etc.)
- Configuration of allowed IP ranges from Salesforce
- Authentication credentials Salesforce uses to relay through your SMTP
To enable Email Relay:
- In Salesforce Setup, search for Email Relay Activation.
- Configure your SMTP server settings (host, port, authentication).
- Add allowed Salesforce IP ranges to your SMTP server’s accepted senders.
- Test relay with a sample message.
Once active, Salesforce email flows through your SMTP server. SPF, DKIM, and DMARC are now governed by your existing infrastructure. Your authentication setup for everything else applies to Salesforce by extension.
For most organizations, DKIM signing in Salesforce (Step 3) is sufficient. Email Relay is worth the effort for high-volume senders or organizations with strict compliance requirements.
Step 5: Verify Alignment in Your DMARC Reports
After 24-48 hours, your DMARC aggregate reports will start showing Salesforce email. Look for:
- Source IP in the Salesforce range (you can identify these by reverse DNS lookups)
- DKIM result of
passwith the selector you configured - DKIM aligned with your domain (
yourdomain.com) - DMARC disposition of
none(until you advance the policy)
If you see Salesforce IPs failing DMARC, the most common causes are:
- DKIM key not activated in Salesforce (you generated it but didn’t click Activate)
- DNS record published with formatting errors (extra spaces, missing quotes)
- DKIM selector mismatch between Salesforce and DNS
- Email coming from a Salesforce cloud you didn’t configure (Marketing Cloud, Pardot)
A platform like Verkh translates the raw XML reports into plain English. Instead of decoding IPs and headers, you see “Salesforce: 12,847 messages, all passing alignment” or “Pardot: 4,203 messages, DKIM not configured.”
Common Issues and Fixes
SPF lookup limit exceeded. Use SPF flattening or remove unused includes. Some organizations move Salesforce to Email Relay to avoid the lookup count entirely.
DKIM signature missing. Confirm the DKIM key is activated in Salesforce, not just created. Salesforce sometimes shows the key as “ready” before it’s actually active.
Marketing Cloud emails failing. Marketing Cloud has its own DKIM configuration, separate from Sales Cloud. You’ll need to repeat Step 3 inside Marketing Cloud’s admin UI, with a different selector.
Pardot emails failing. Pardot (Marketing Cloud Account Engagement) requires both a tracker domain and email signing configuration. Both must be DNS-verified separately.
One subdomain works, another doesn’t. DKIM keys are scoped to specific domain match patterns in Salesforce. Verify each subdomain you use is included in the match pattern, or create additional keys.
Next Steps: From Monitoring to Enforcement
Once your DMARC reports show Salesforce email passing with alignment, you’re ready to start advancing your DMARC policy.
The progression from monitoring to enforcement isn’t a single switch — it’s a series of incremental steps. Move from p=none to p=quarantine with a small percentage (pct=10), monitor for issues, then increase the percentage gradually. Once 100% of traffic is at quarantine and your pass rate is consistently above 99%, you can move to p=reject.
For more on the policy progression process, see our guide to policy progression strategies and the third-party senders authentication guide.
Monitor Salesforce Authentication with Verkh
Configuring authentication is half the work. Maintaining it as your Salesforce setup evolves — new DKIM keys, new clouds, new IP ranges — is the other half.
Verkh monitors your DMARC reports continuously and alerts you when Salesforce authentication breaks. The platform identifies Salesforce sources automatically, tracks alignment rates over time, and generates remediation tasks when something needs attention.
Start monitoring your Salesforce authentication free at verkh.io. One domain, no credit card, full visibility.
Related Articles
March 2026
How to Set Up DMARC for Klaviyo
Step-by-step guide to configuring SPF, DKIM, and DMARC for Klaviyo email marketing. Includes DNS records and troubleshooting.

January 2026
How to Authenticate Email and Reach the Inbox
A practical guide to setting up SPF, DKIM, and DMARC so your emails actually get delivered. No fluff, just the steps that matter.
January 2026
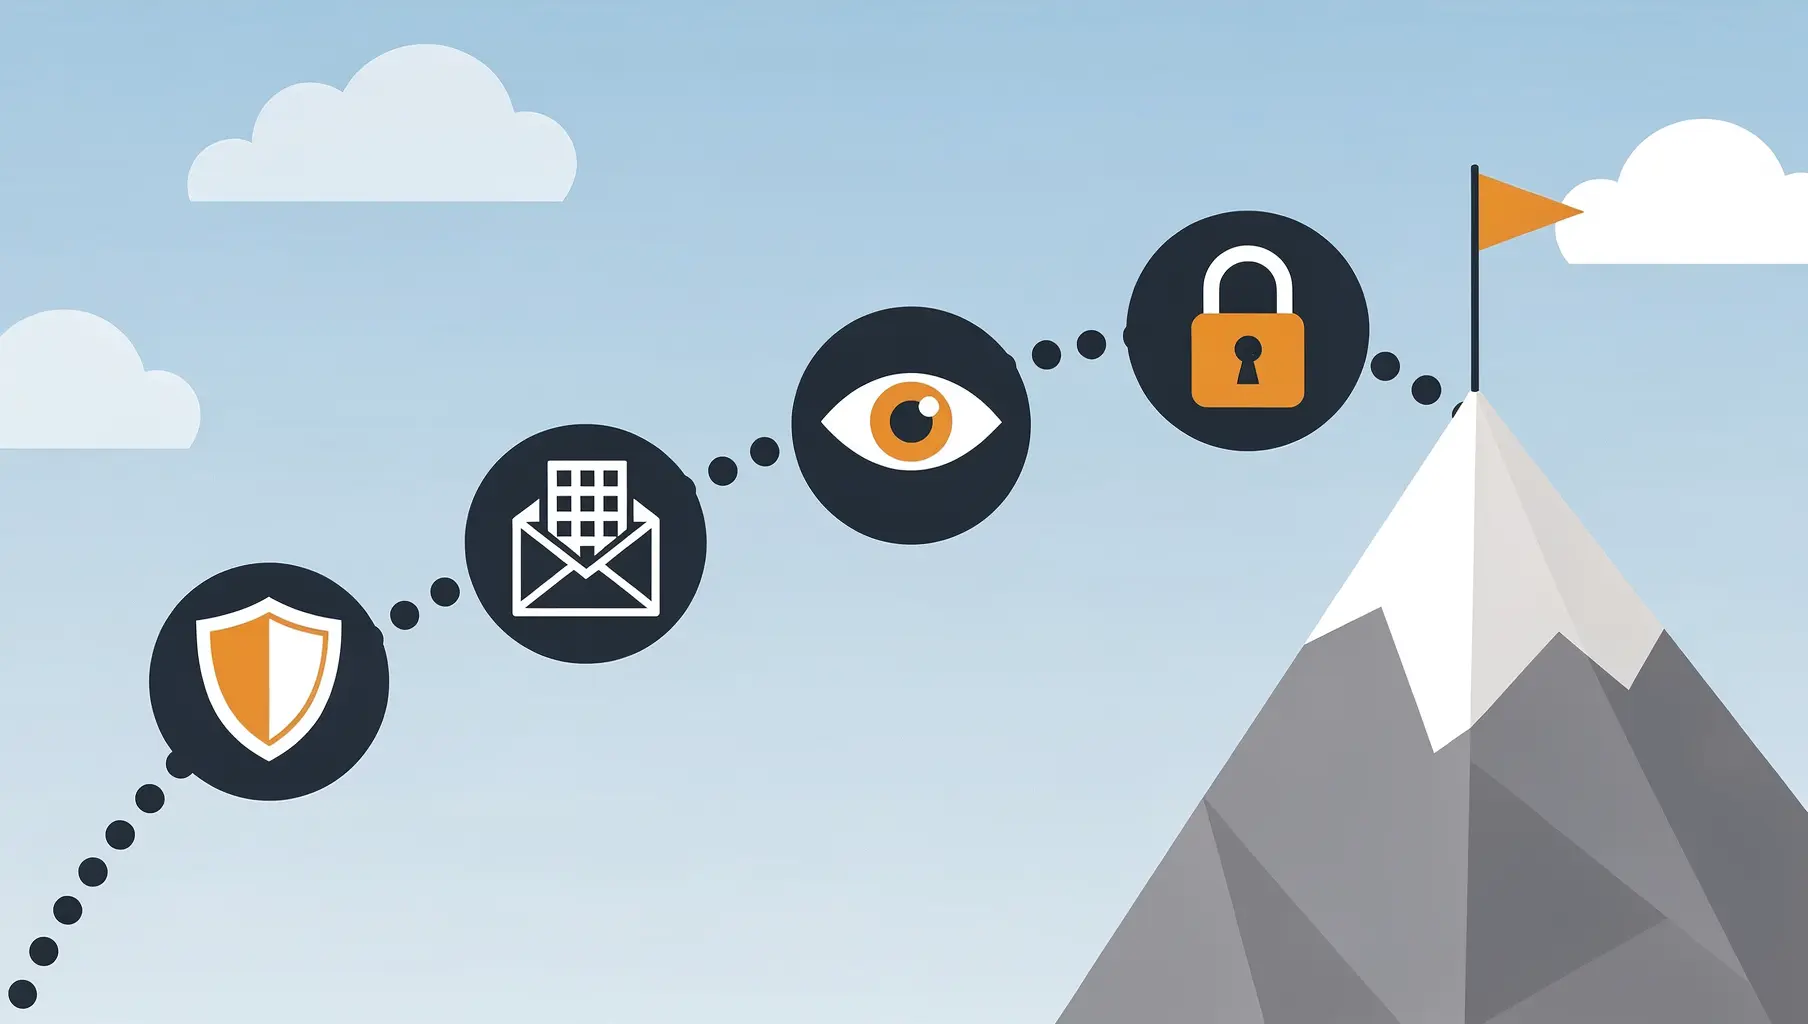
5 Key Benefits of Email Authentication
Why SPF, DKIM, and DMARC matter for security, deliverability, and brand protection. A practical guide for businesses of all sizes.
Ready to implement this?
Verkh helps you monitor DMARC, identify issues, and reach enforcement. Start free.
Start Free